Installation
== 🪟 Windows ==
Installing Bestatic on Windows is extremely easy. Grab the .exe installer from here and double click to start installation, just like every other software you have ever installed!
Ignore the security warnings, if showed (Bestatic is safe; it is free and open-source software under GPL-3.0 license so that you or anyone else can audit/distribute the code from GitHub repo), keep clicking Next/Accept for a few times, and as long as you do not change any default settings, Bestatic should be installed pretty quickly.
Screenshots are provided below just for reference:
-
At first, upon double clicking the exe file, you should see this pop-up:
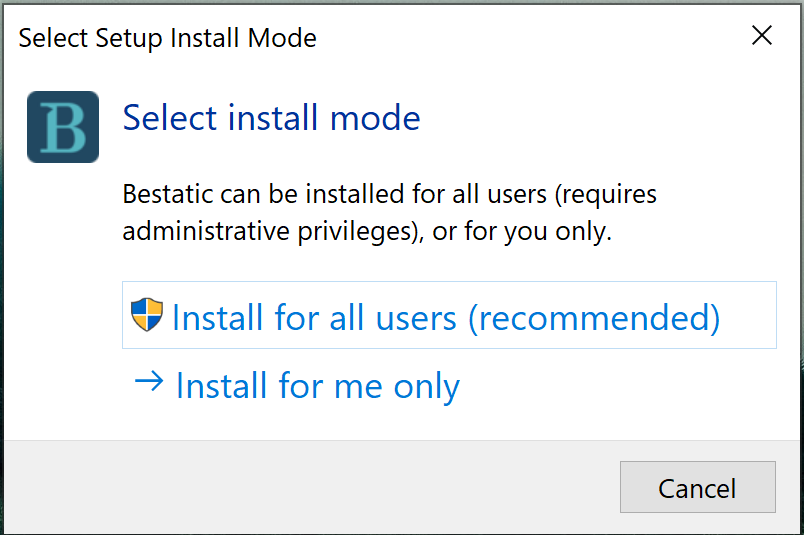
You should click Install for all users (recommended). Other option should work too.
-
After that you may see a Microsoft Defender pop-up window:
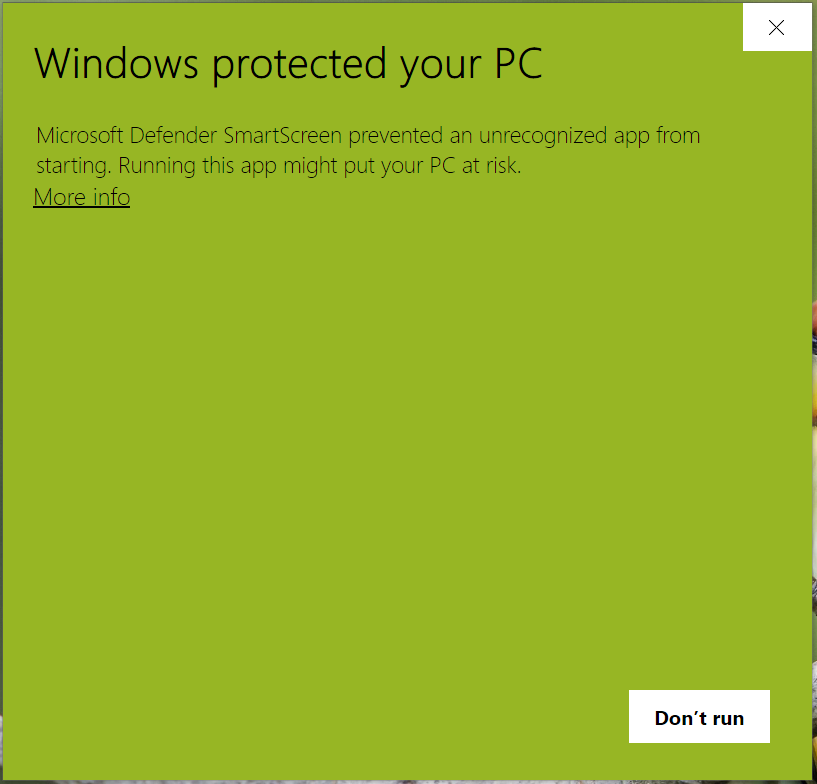
You should click on More info (near top-left corner).
-
If you have clicked "More info", you should see this:
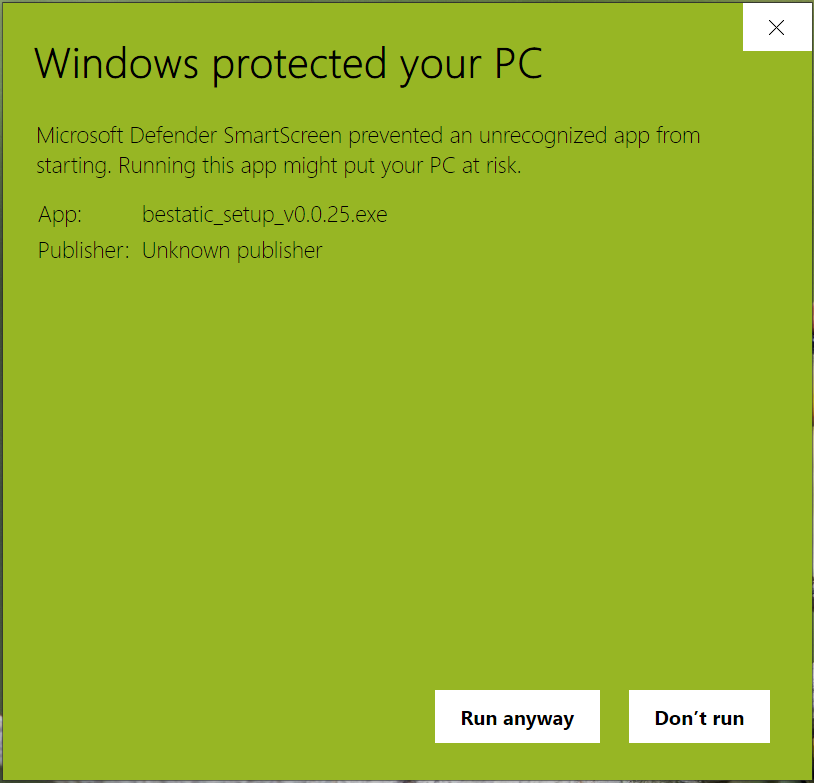
You should click on Run anyway.
-
Once you have clicked "Run anyway", you should see an UAC prompt like this:
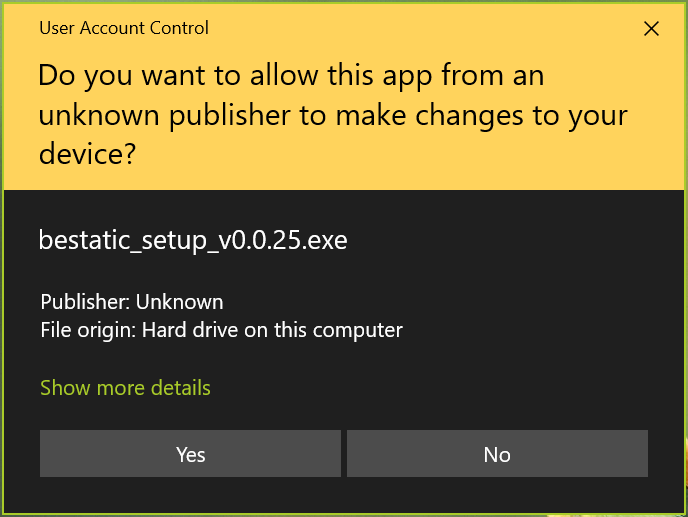
You have to choose Yes here.
-
Now you will see the prompt to accept the license agreement (GPL-3.0).
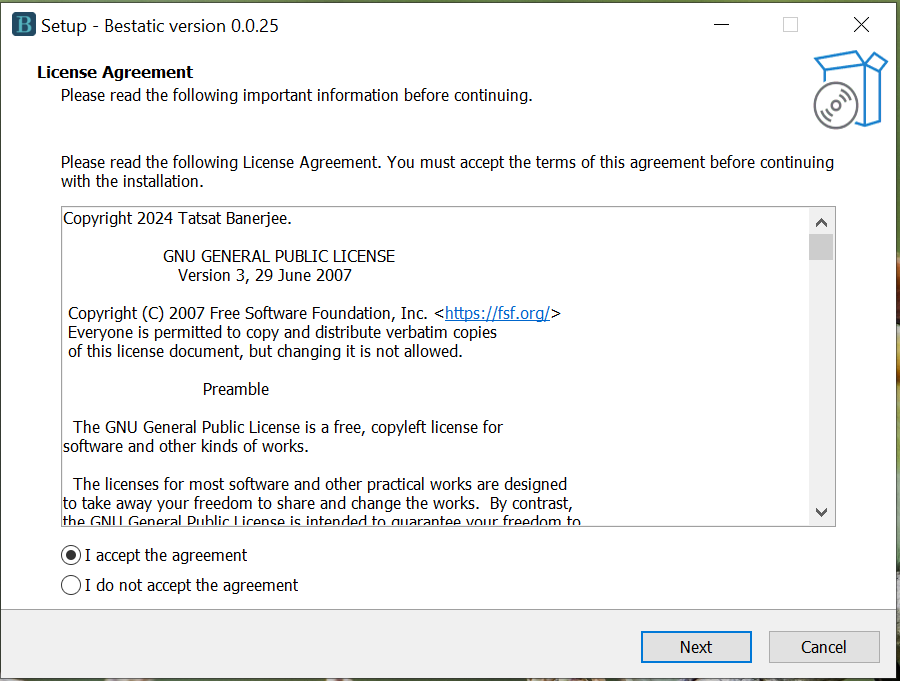
You have to accept the agreement to install Bestatic.
-
If you accepted the license agreement, you should see this screen. Do NOT uncheck the Add application directory to your environmental path option; just click Next. Otherwise, Bestatic will not work after installation.
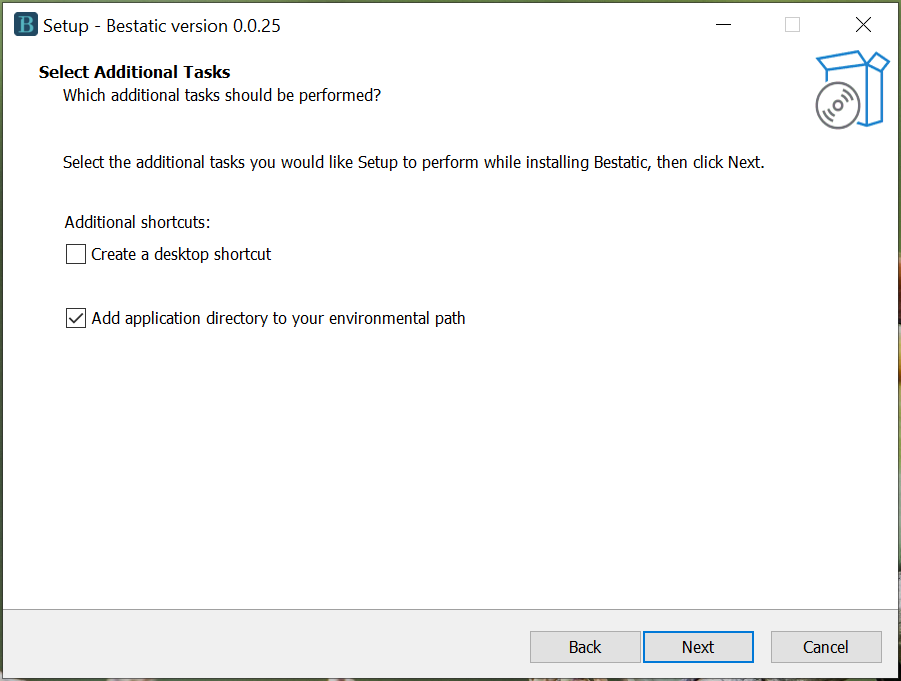
You must keep Add application directory to your environmental path option checked. If you wish, you can choose to create a desktop shortcut (which will not be particularly useful).
-
Now you should see the Ready to Install screen like this:
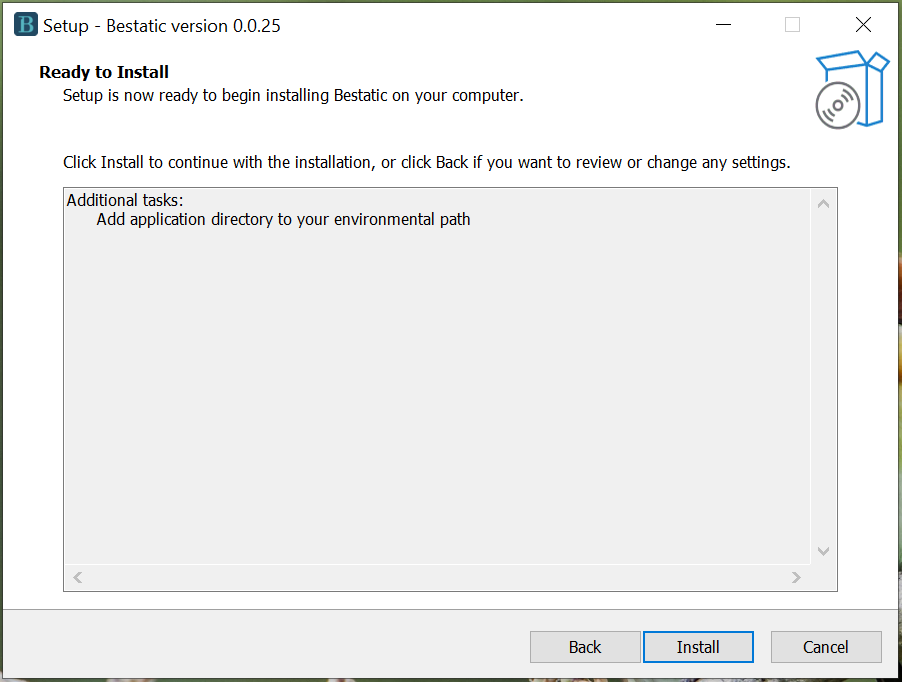
Click Install to install Bestatic.
-
Now you should see that the Bestatic is installing
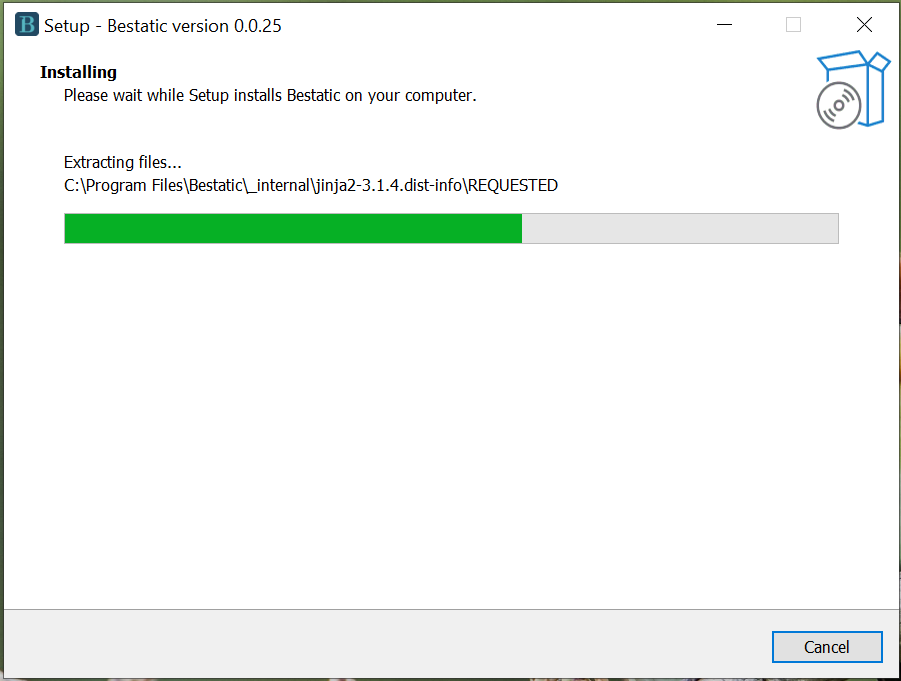
Wait and relax!
-
Bestatic should have completed installation correctly and you should now see this:
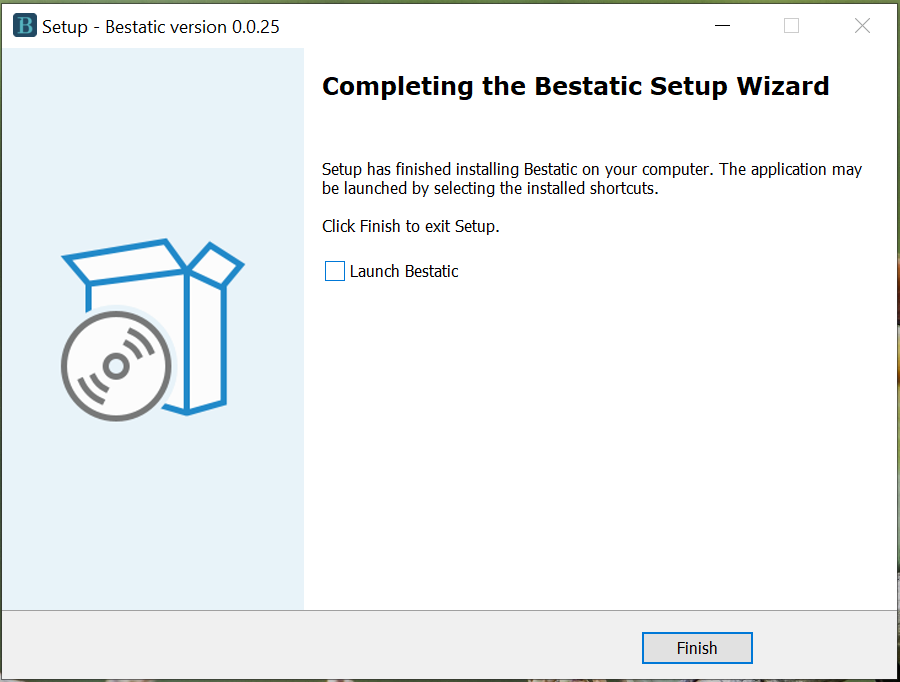
You may uncheck the Launch Bestatic and then close the window.
You can now open a terminal window (Windows Powershell or Command Prompt) and type bestatic version. As long as you see "Bestatic version: 0.0.xx" as output, it indicates that your installation is successful!
== 🐧 Linux ==
The installation process of bestatic on linux can vary a bit depending on the distro that you are using. In my opinion, the best way to install bestatic would be to just use the Snap version. That will be available to you out-of-the-box if you are using Ubuntu or one of the flavors of Ubuntu (such as Kubuntu, Lubuntu, Ubuntu Budgie, etc.).
For other distros that do not support Snap out-of-the-box, you can use the Flatpak version from the Flathub (also available to you out-of-the-box if you are using Fedora/Mint/Pop!_OS/etc.). As you are probably aware, launching the flatpak version of any command line app is a bit weird (for example,you have to use flatpak run com.bestaticpy.bestatic instead of bestatic every time). So, we recommend you to add alias to follow the documentation's commands.
If you are using a distro that does not support Snap or Flatpak out-of-the-box, you can always use the tarball which includes the install.sh script to install Bestatic. Please see below for detailed instructions.
1. Snap (Linux)
If you are using Ubuntu or one of the flavors of Ubuntu (such as Kubuntu, Xubuntu, Lubuntu, Ubuntu Budgie, etc.), the Snap version of Bestatic should be available to out-of-the box from your software center or Snap Store. You should just search for bestatic, click install, provide sudo or root password if asked and you should be done. Screenshots are provided below for reference:
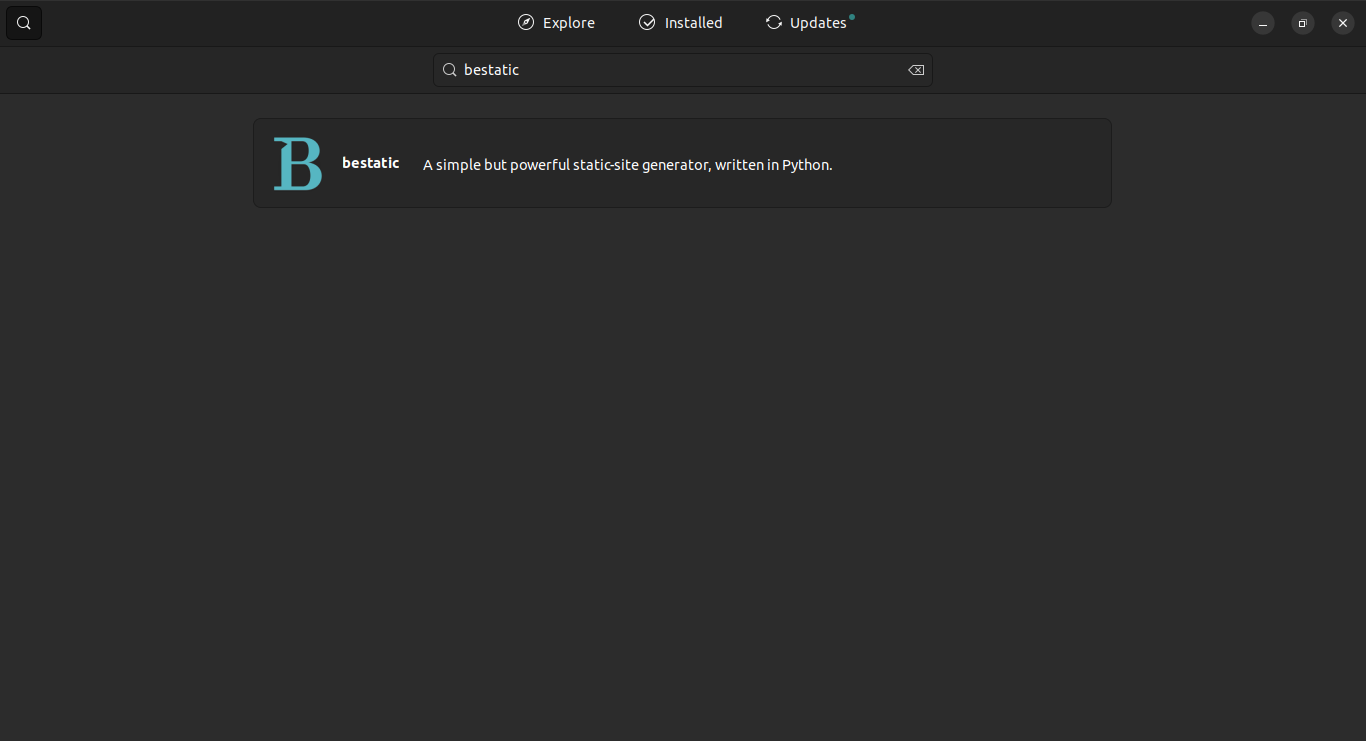
You should search for bestatic in your software center. You should see something like the above picture as search result. Click on the search result.
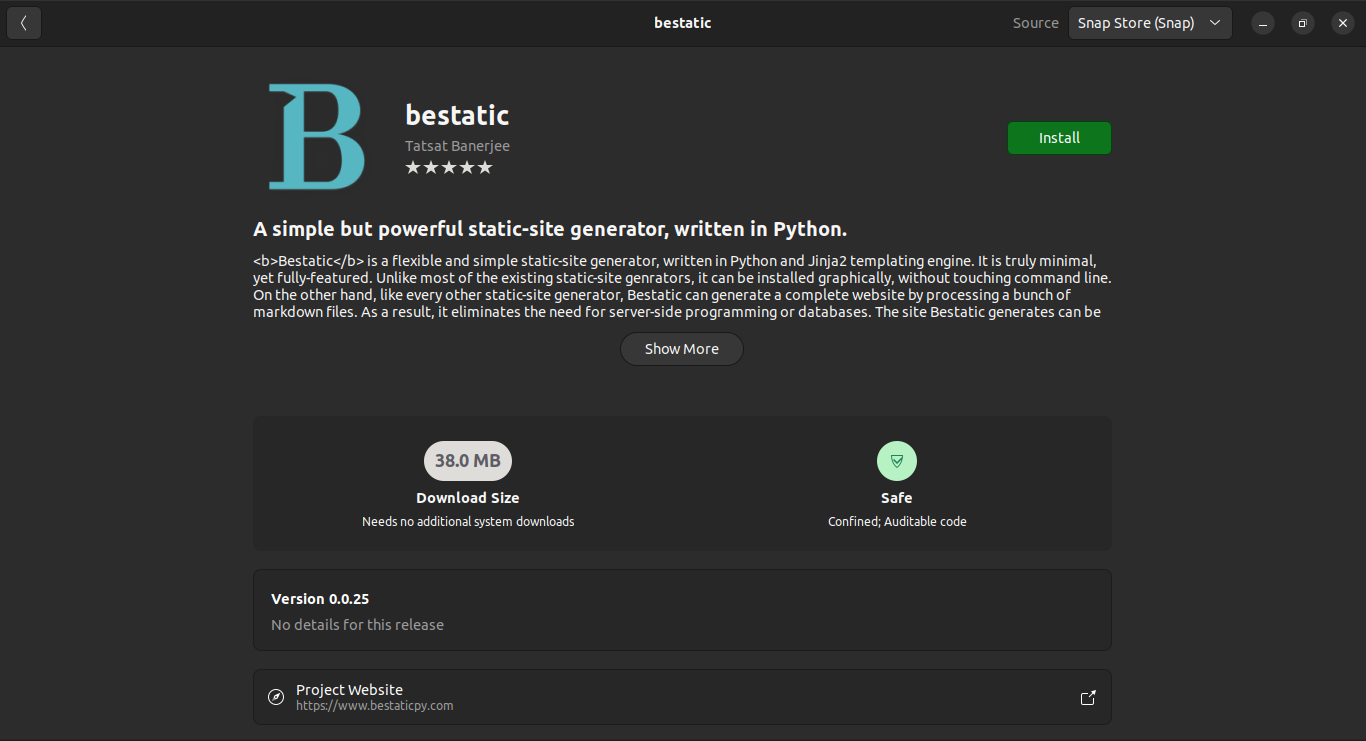
If have clicked on the search result, you should see the listing page for bestatic now. Click on the Install button near top-right corner.

If you have clicked Install before (and provided sudo password, if asked), you should see that bestatic is installing. It should not take too long.
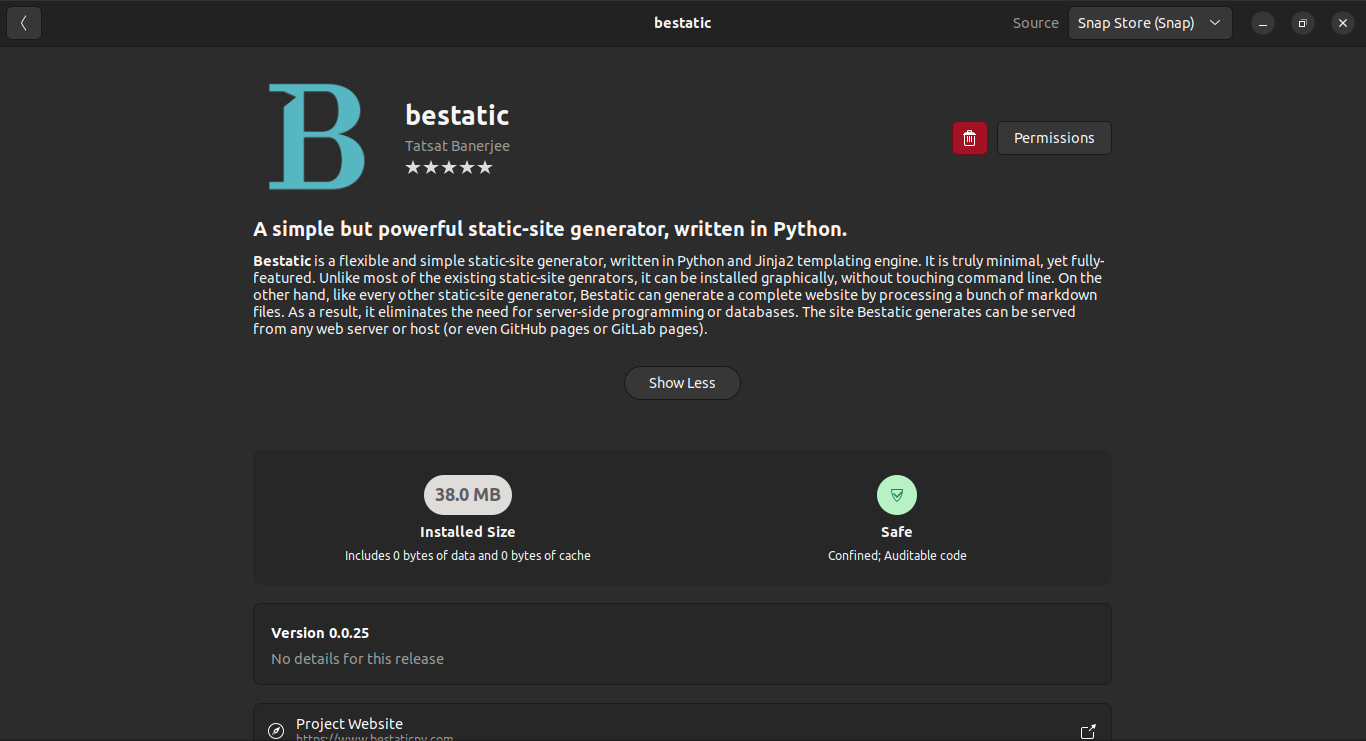
As long as you see something like the above picture, your installation is successful!
If you prefer command line, please just use sudo snap install bestatic to install bestatic. If you are on another distro and snapd is not installed by default, you can install snapd from the command line following distro-specific instruction available here. You can then install bestatic by using the same command provided above, as also documented in the Snapcraft documentation for Bestatic.
2. Flatpak (Linux)
Installing the Flatpak version of Bestatic via the Graphical Software Center or Software Store of your distro is also an easy way to install Bestatic. Since this is very similar to the Snap installation process, we are not providing detailed screenshots here. Many mainstream distros (such as Fedora, Linux Mint, Pop!_OS, Elementary OS, etc.) have Flatpak and Flathub enabled by default. You should just search for bestatic, click install, provide sudo or root password if asked (it usually is not required) and you should be done.
If you are using a distro that does not support Flatpak out-of-the-box, you can install Flatpak from the command line following distro-specific instruction available here. You can then install bestatic by using the commands provided below, as also documented in the Flatpak documentation for Bestatic:
1 2 3 4 | |
3. Tarball (Linux)
If you prefer to stay away from all these universal package formats, you can always use the tarball which includes the install.sh script to install Bestatic using the following simple commands (replace 0.0.36 with the latest version number):
1 2 3 4 5 6 7 8 | |
Note that, this installs Bestatic system-wide by adding a symlink to the bestatic binary in /usr/local/bin/ directory. So, you can just run bestatic from anywhere in the shell. For uninstallation, you can run sudo ./uninstall.sh to completely remove Bestatic from your system.
If you are using aarch64/ARM64/AArch64 architecture, you can use the alternative tarball provided in the Releases page.
If you are using a DIY distros like Arch Linux, please make sure that libmagic (often comes with the package name file) is installed on your system.
== 🍏 macOS ==
1. Graphical .pkg installer (macOS)
If you want to install Bestatic on macOS, you can now just download the .pkg installer file, double click to start installation, and follow the prompts. Note that, Gatekeeper will prompt you to delete or abort the installation and you should still continue with the installation. As we mentioned earlier, Bestatic is safe - it is free and open-source software under GPL-3.0 license so that you or anyone else can audit/distribute the code from GitHub repo. For more details, please see the screenshots below.
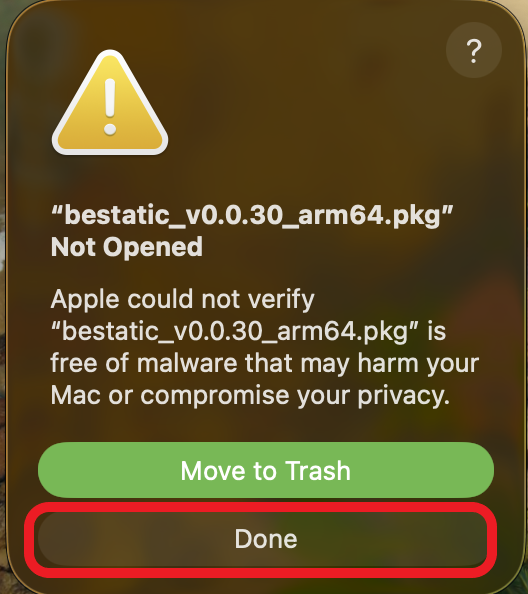
You should double click the .pkg file to start the installation. If you see the above picture, you should click on the Done button to continue.

After clicking the Done button, you should got to System Settings -> Privacy & Security -> General -> Allow Applications from -> App Store and identified developers. Then, you should click on the Open Anyway button to continue.
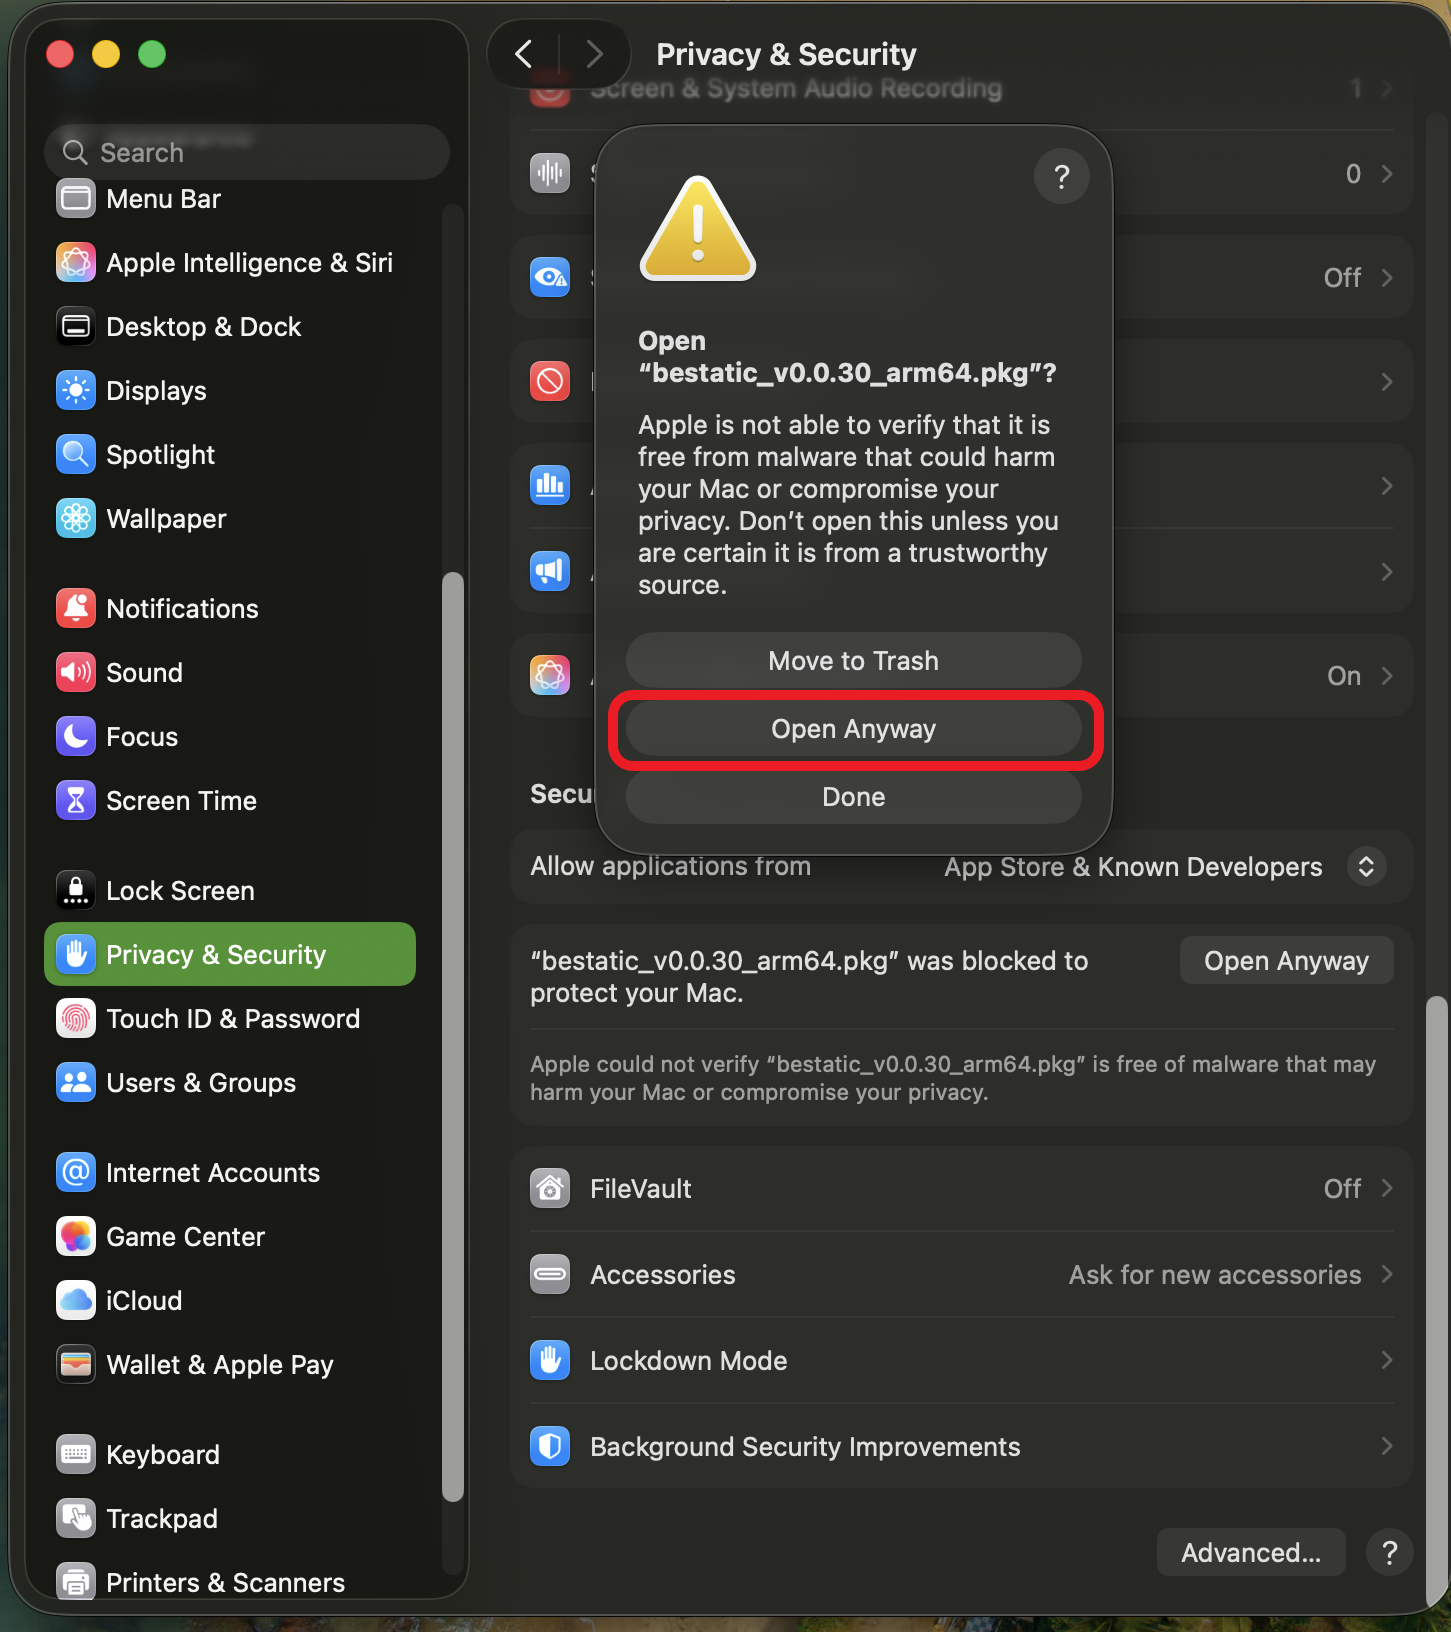
If you see this pop-up afterwards, you should click on the Open Anyway button to continue.
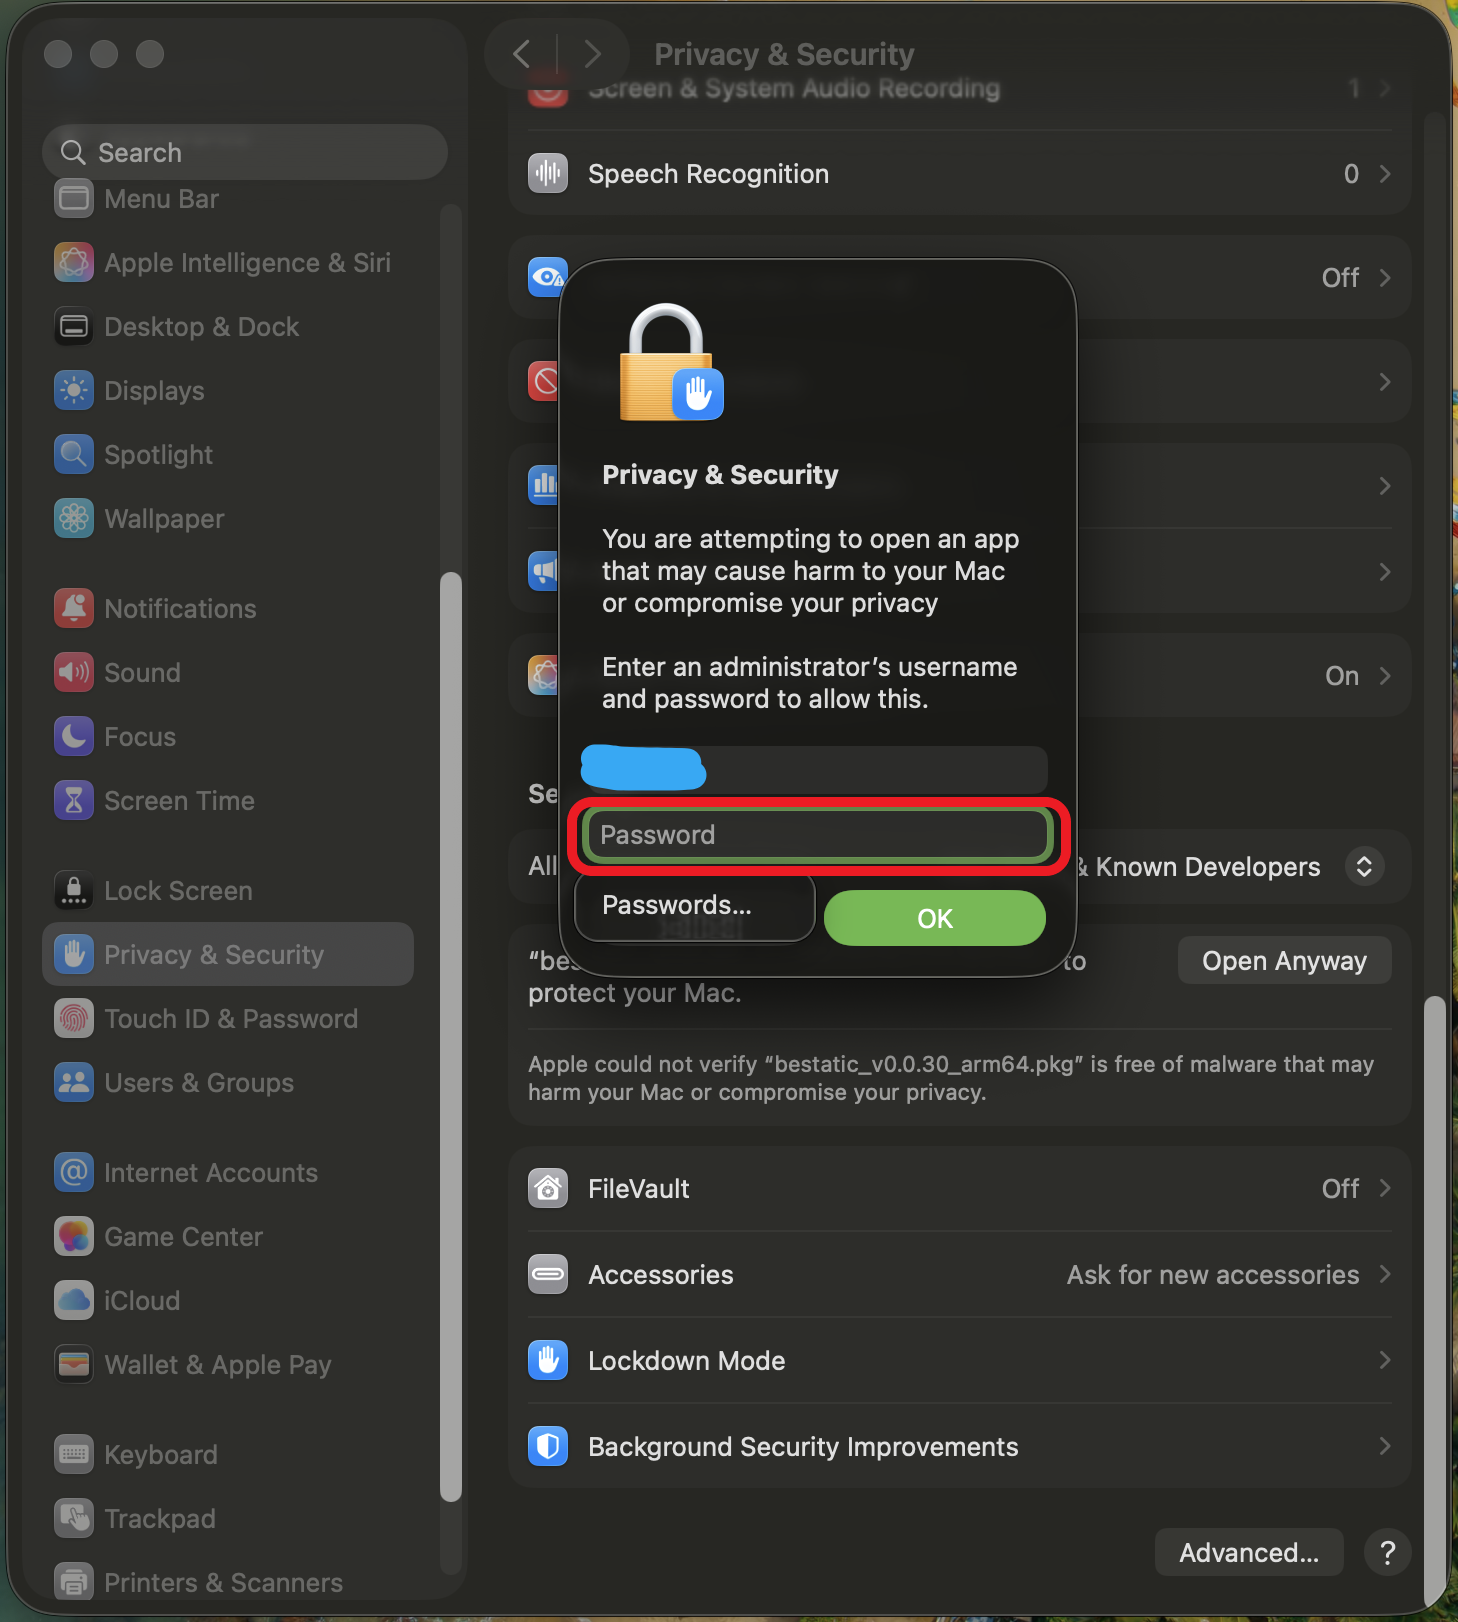
If it asks you to provide your password, you should provide it.
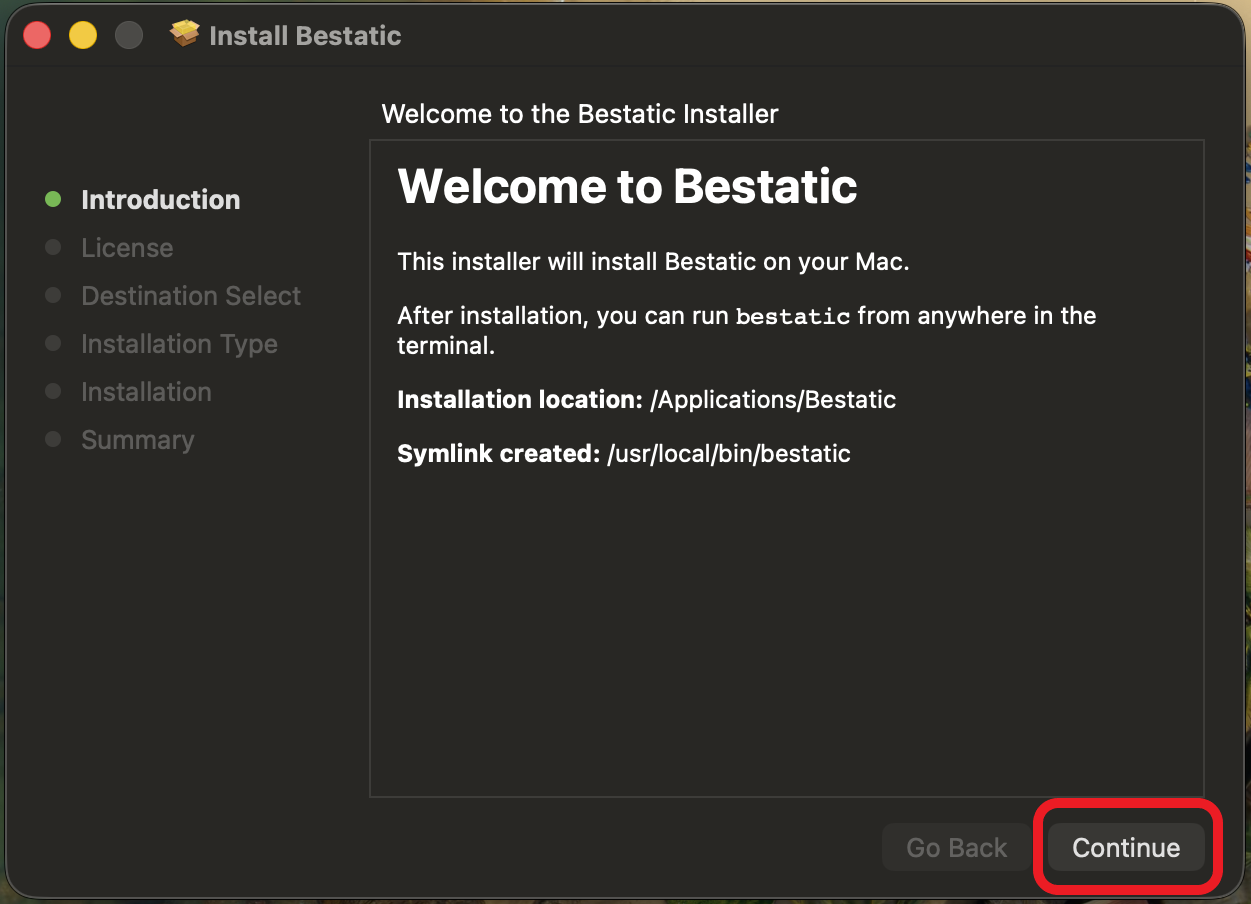
Read the information and click on the Continue button to continue.
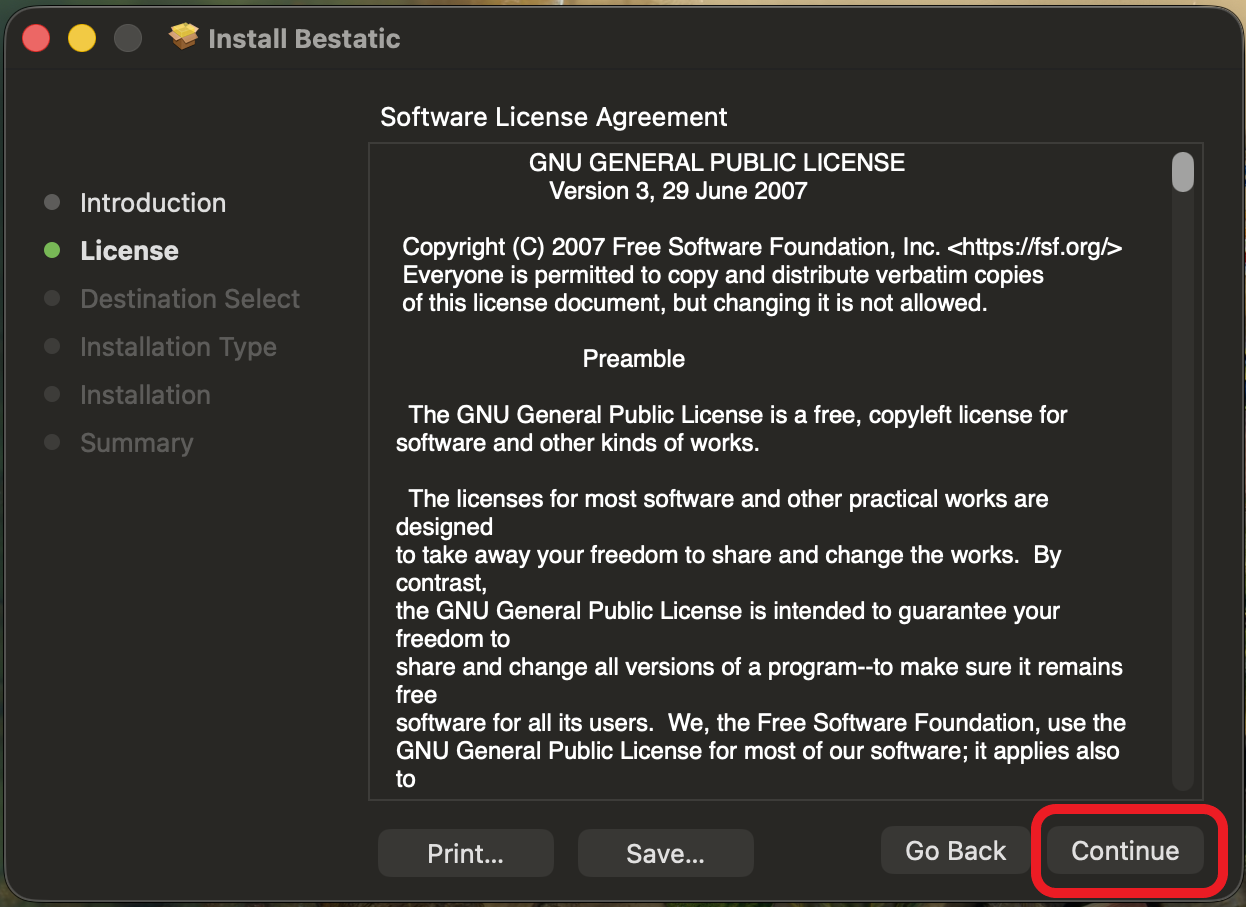
If you wish to continue installation, you have to accept the license agreement by clicking on the Continue button.
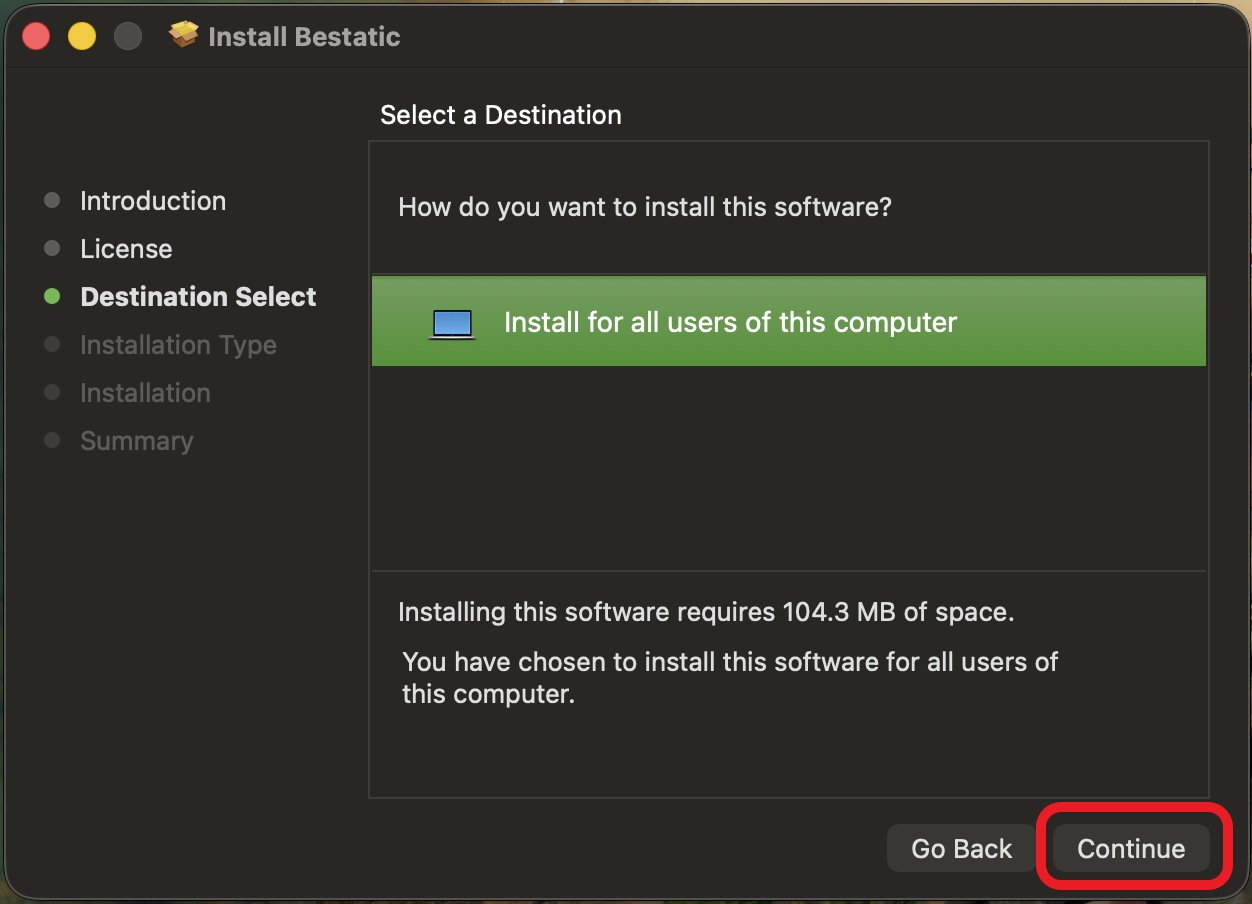
Read the information and click on the Continue button to continue.
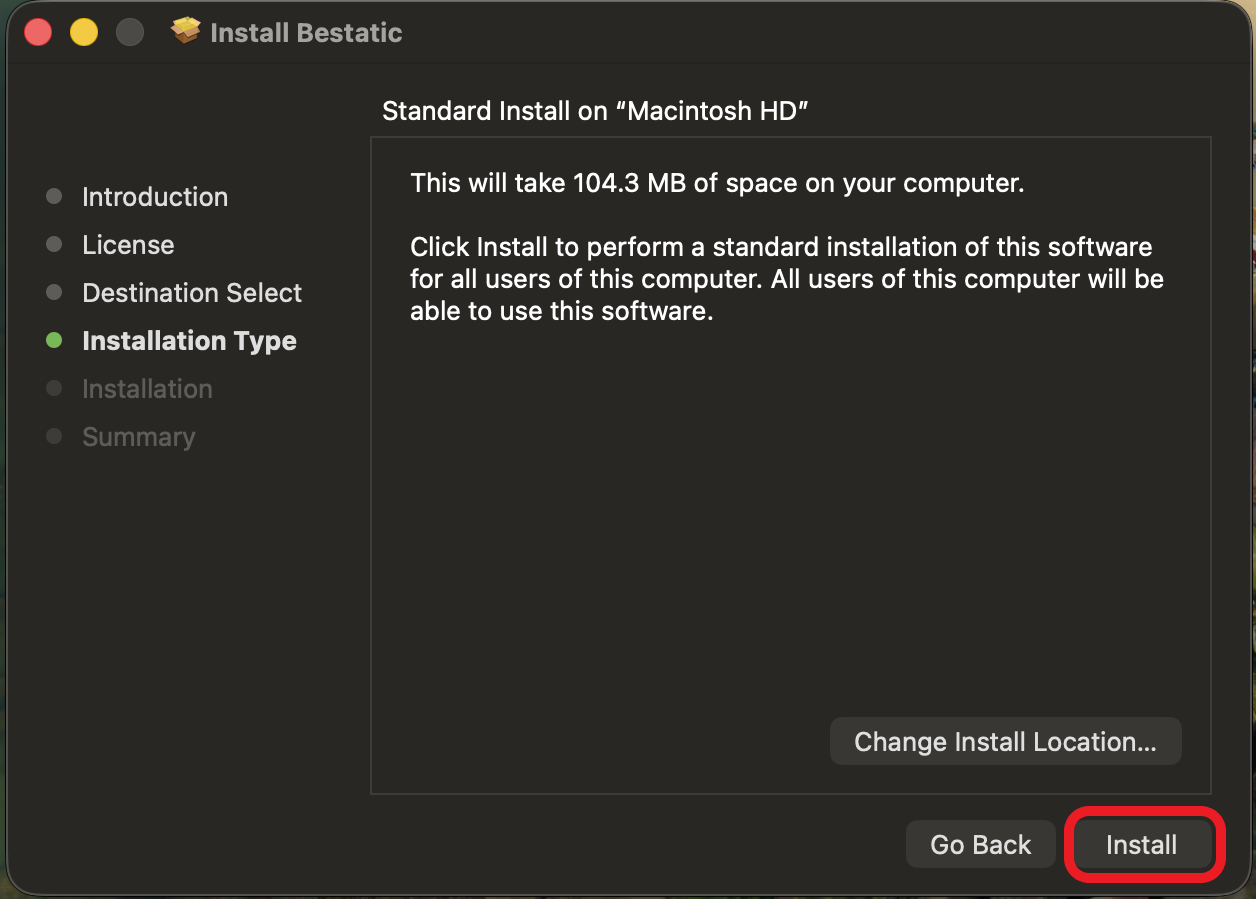
You can now click on the Install button to continue.
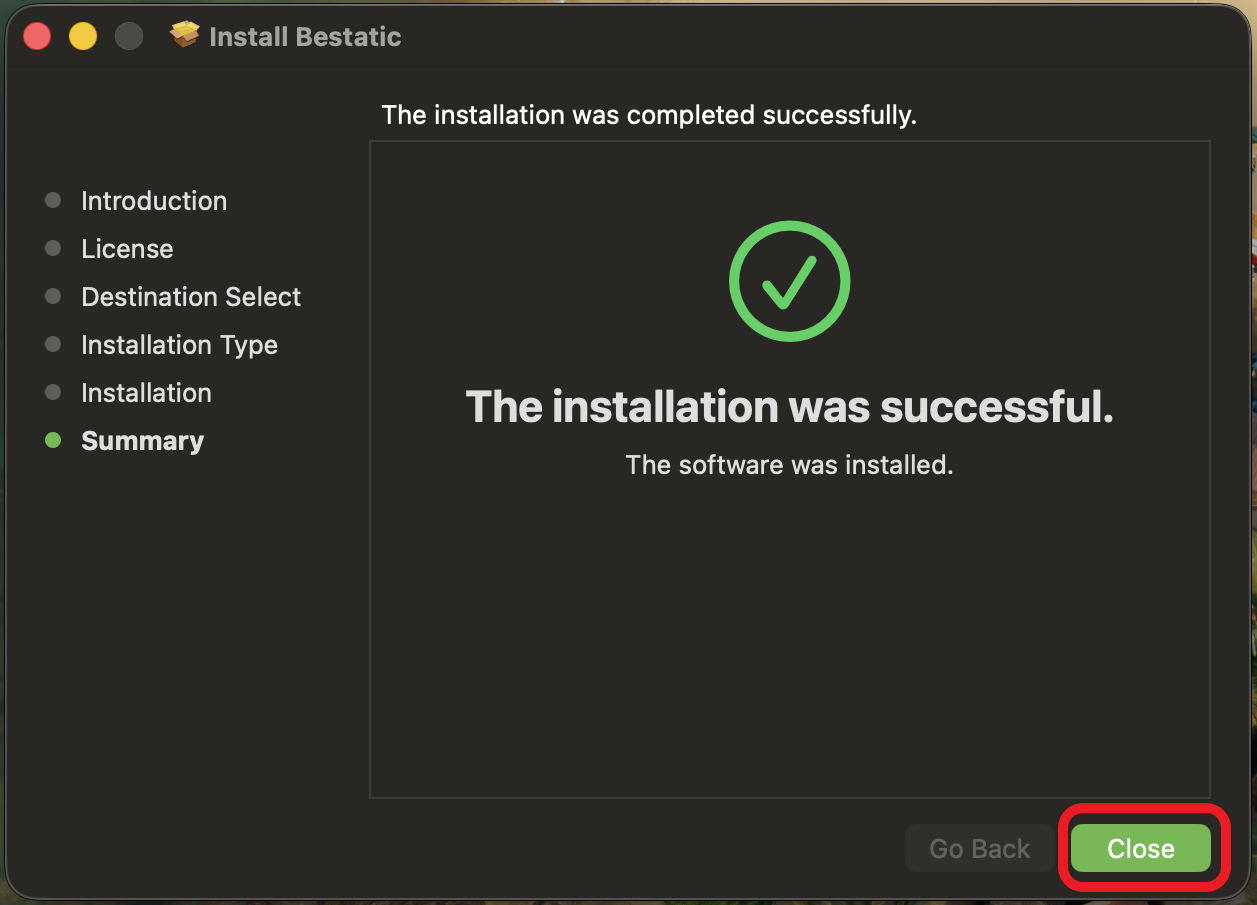
You should see the installation progress after clicking the Install button. As long as you see something like the above picture, your installation is successful! Click on the Close button to continue.
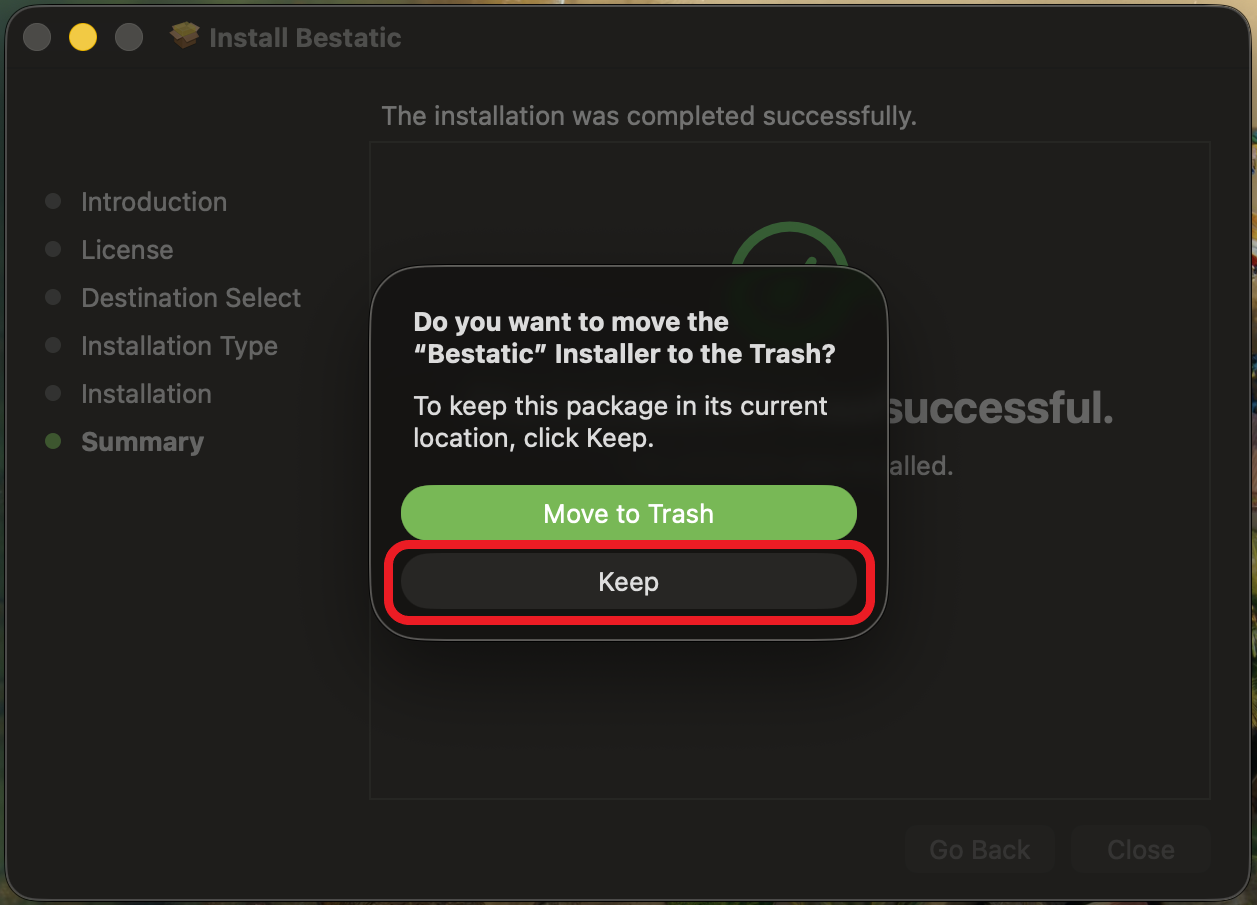
This is IMPORTANT! You should click the Keep option to keep the Bestatic application in your mac.
Note that, this will install Bestatic system-wide by adding a symlink to the bestatic binary in /usr/local/bin/ directory. So, you can just run bestatic from anywhere in the shell. You can see the bestatic binary in /Applications/bestatic/ directory. For uninstallation, you can just drag the /Applications/bestatic/ directory to the Trash.
2. Homebrew (macOS)
If you prefer CLI, you can use Homebrew and pipx to install bestatic. Commands are provided below. Note that, instead of using the first command, you can also use .pkg installer (available here) to install Homebrew and use the remaining commands.
1 2 3 4 5 6 | |
You should now be ready to go! You can now open a terminal window (Terminal.app) and type bestatic version. As long as you see "Bestatic version: 0.0.xx" as output, it indicates that your installation is successful!
pipx works everywhere!
pipx works everywhere! You can use it to install Bestatic on any platform that supports Python and pipx (such as Windows, Linux, and macOS). You do not have to be familiar with Python or its environment management tools to use pipx! If you are interested in using pipx for Bestatic or another Python package, please see the pipx documentation.
== Build from Source ==
If you are already familiar with Python, know how virtual environments work, and want to play with the source code, you can always build Bestatic from source or grab a version from the PyPI and install it using PIP as usual.
Install inside a virtual environment!!
While not strictly necessary, it is STRONGLY RECOMMENDED to use a virtual environment, if you are using PIP to install Bestatic. Please create and activate a virtual environment before installation, using your favorite environment manager (e.g., venv, conda, pyenv, mise, etc.). Otherwise, you may run into dependency conflicts with other Python packages installed globally on your system and random things can break. In the next sections, we assume you are inside an activated virtual environment.
To install Bestatic from PyPI using PIP:
1 | |
To build Bestatic from the latest source code on GitHub:
1 2 3 4 | |
You are now ready to build your website! You can always go ahead and play with the Bestatic source code and see your edits in action! If you are interested in contributing to Bestatic, please open an issue or pull request on GitHub or come to talk with us at GitHub Discussions.
Thank you for trying out Bestatic!! Enjoy!! ❤️❤️❤️